* UPDATE – Comments are working again! Thanks hubby :) Let the comments fly! *
Wow! I did not intend on being away for so long, but Stephen and I both came down with strep throat on Monday and we’ve been out for the count!
Luckily I was able to make a decision and attack our dining room curtains since the last time I posted. THANK YOU to everyone who weighed in on our Dining Room Curtain Dilemma last week. You ladies have such good ideas and really got me thinking on other ways to improve our space.
So, without further ado, the winning curtain fabric was….
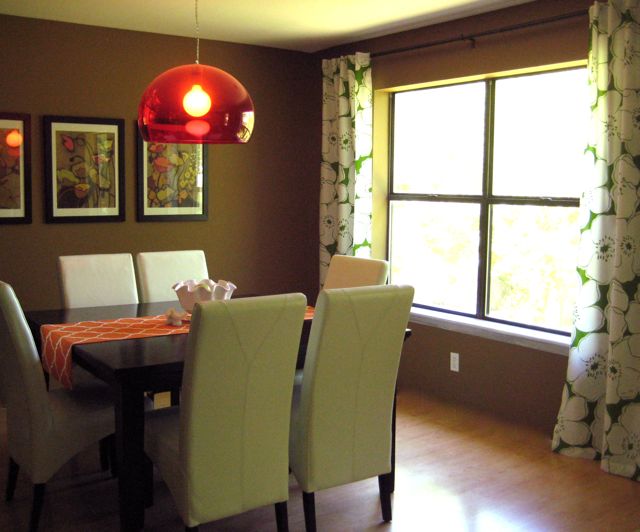
The green floral print!
The vote was pretty evenly split, but we just couldn’t stop ourselves from loving this fun springy floral, especially for this time of year. The best part is these were made from a $10 set of sheets and I still have fabric left over to use for our kitchen window treatment! SCORE :)
Here’s a little tutorial I whipped up to show how I made these curtains from a flat sheet. It really couldn’t have been simpler and took practically no time at all!
Tutorial: Turning a Flat Sheet into Two Curtains
Supplies:
1 flat sheet, full size
scissors
iron
sewing machine & thread (or an iron & hem tape)
glue gun
2″ wide white ribbon
scissors
iron
sewing machine & thread (or an iron & hem tape)
glue gun
2″ wide white ribbon
Step 1:
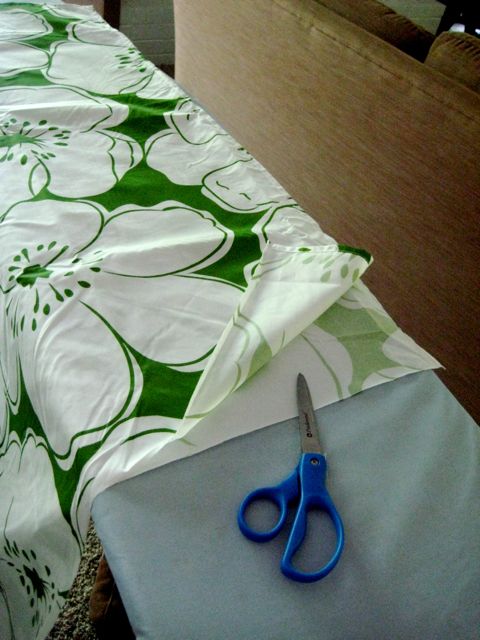
Fold your flat sheet in half lengthwise, and cut along the fold.
You will end up with 2 panels, each as long as the original sheet.
You will end up with 2 panels, each as long as the original sheet.
If your panel is long enough you can fold over the edge you see here to make a pocket for your curtain rod. I didn’t have enough length to do that, but you could – I’m just sayin’.
Step 2:
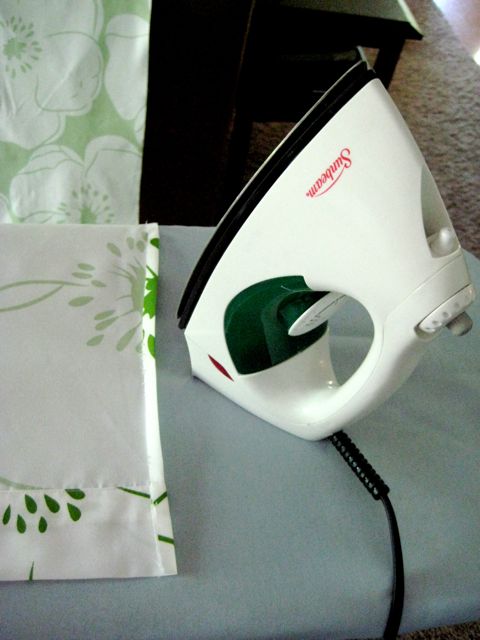
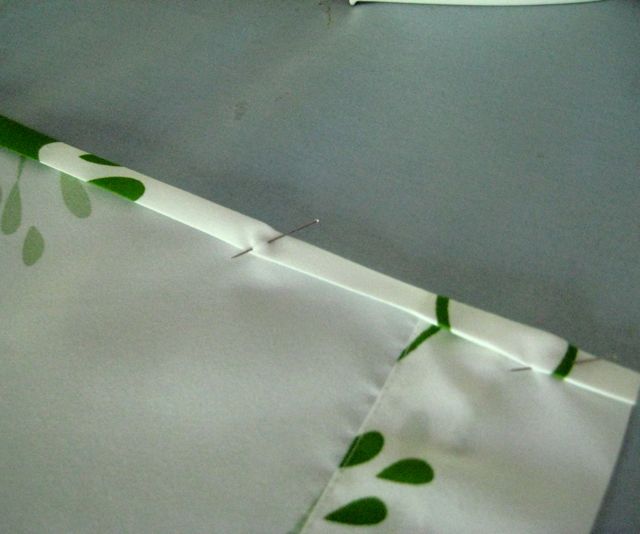
Iron both panels. Then, fold over the edge you just cut 2 times and iron flat.
This is the edge you will sew to keep the fabric from fraying.
This is the edge you will sew to keep the fabric from fraying.
For a NO SEW version, you could also iron this hem down with hem tape.
Step 3:
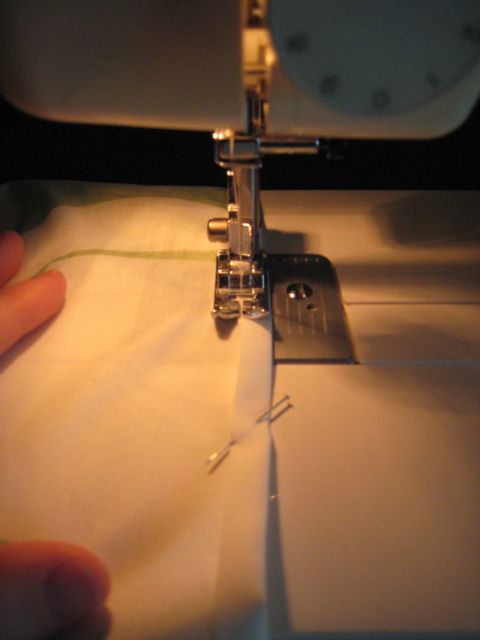
Sew your hem.
Step 4:
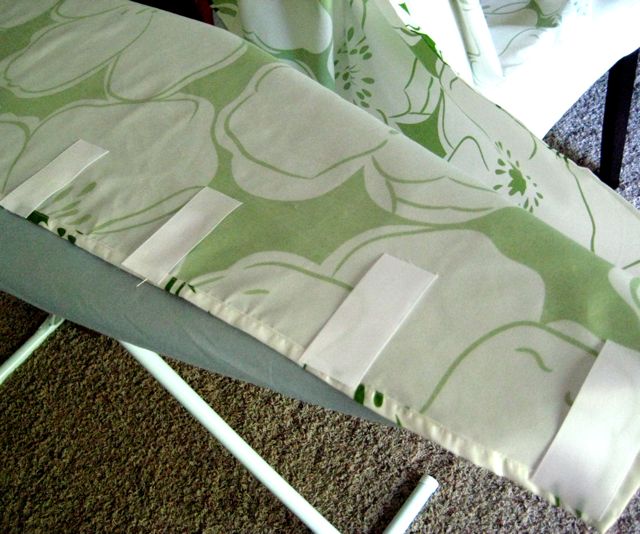
Cut 6 strips from your ribbon, approximately 3.5″ long, and lay them evenly across the top of your panel.
These will be the tabs for the back of your curtain. You may need more or fewer, depending on how wide your curtain is. You can also make your ribbon strips longer, depending on how thick your curtain rod is.
Step 5:
Hot glue the top and bottom of the ribbon strips to the panel.
I decided to glue the bottom of mine 3″ from the top of the strip to make them a little more “loopy.”
I decided to glue the bottom of mine 3″ from the top of the strip to make them a little more “loopy.”
Step 6:
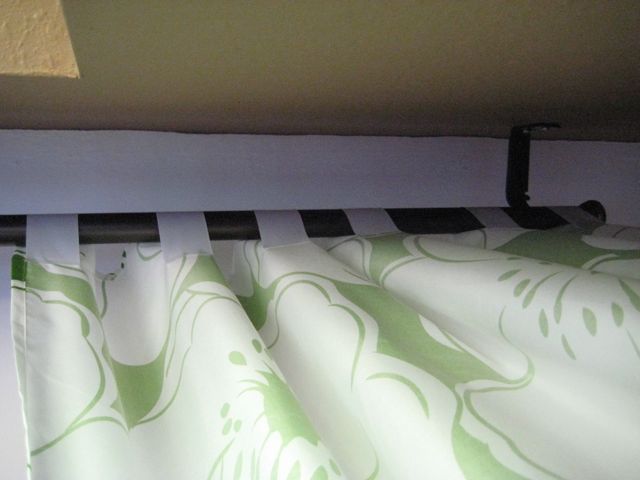
Hang your new curtains (preferably on a SWEET $10 curtain rod from Big Lots – Ok, ok I love you again, Big Lots)
Here’s a view of what those ribbon tabs look like from the back:
And finally, the finished product!
What do you think? Easy, right?
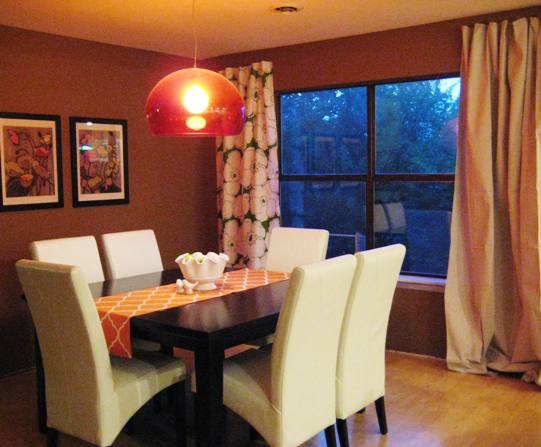
Thanks again to all who offered advice on these babies. Quite a few of you suggested we keep the drop cloths for a more winter-y alternative, which we plan on doing. I’ll also be on the lookout for some art or photos to replace our dark art on the far wall. Any suggestions? I’m thinking thicker white mats to start…
Also, I may be crazy, but I’m just DYING to paint this room white.
Stephen’s response?
“You paint everything white!”



No comments:
Post a Comment