
Lately, Brooke is obsessed with the crunchy, plastic baby wipe packaging and I can't change her diaper without{carefully}hiding it from her. So I'm making her a *crunchy* tag blanket toy and now we'll have one of each! One for quiet times and one for her to be loud with! Perfect!
This little project was simple - no special measurements, just eyeballing. You can eyeball, right? So go grab some fabric scraps, some ribbon scraps, and join me!
Now cut six squares of random pieces - five rectangles cut in half. I believe mine were 4 x 7 and then I cut them in half.
I also played with various colors of
trim on the square pieces and loved it! You'll want to sew those onto the squares before you piece them together.Sew the squares together with right sides facing; press open
Then sew the rows together, right sides facing; press open.
Now I'm not a quilter, I don't have the nerves for it...and you can see why. Even though I measured everything, cut all of my squares perfectly square, they still didn't line up whilst sewing them together. WHY??? I don't know. But who cares, right?! It's still darn cute. (plus, babies don't care.)
Then you square up your lines with your rotary cutter & ruler after your pieces are all stitched together.
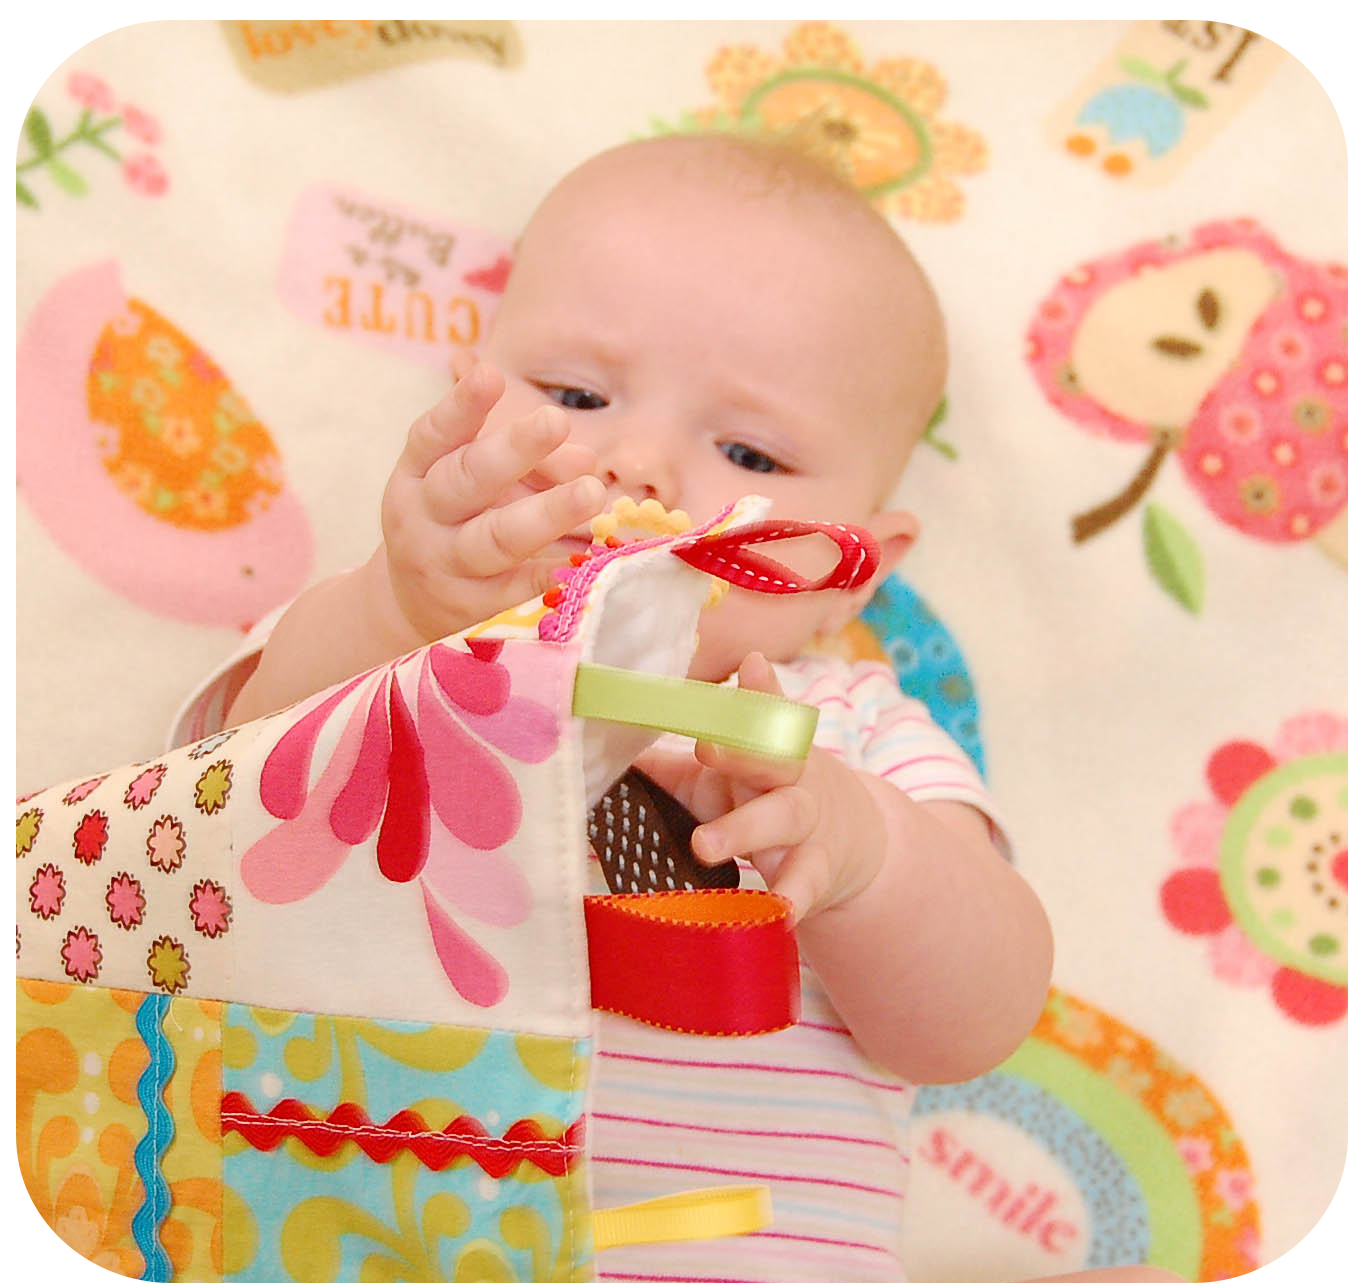
Now pin on your ribbons. Get creative, colorful, and have fun! Velvet textures are great, too, but I couldn't find any.
Now on to the crunchy part. This is a piece of the baby wipes packaging I cut up - I probably could have done a better job at getting a larger piece, but it isn't going to matter. The thing will crunch! But because it's smaller than my top and bottom piece, I'm going to sew it onto the wrong side of my fabric before I do anything else so it will stay put.
There! Now it's secure and not going to go anywhere. If you don't want this big of a piece, do strips, circles, or random patches on this bottom piece. That way you'll still get crunch without it being SO crunchy!
Next, you should baste your ribbons all the way around before you stitch the thing shut like I did, that way you can remove your pins. You don't want to turn this right-side-out with pins in it. {durh...wish I would have thought of that sooner...}
Then put right sides together, sew around leaving about 6 -8 inches opening in the side. Clip your corners and trim up the trimmin's - you know the drill.
Turn your fabric right-side-out; press flat.
Now you can put that last little ribbon in place while tucking the hole back into place.
Sew close to the edge all the way around, securing the opening and finishing the piece.
And that's it! Now go grab yourself a cute little baby and let 'em barf all over your hard work!
Brooke LOVES this, by the way!!! I even think it exceeded her low expectations. haha.
No comments:
Post a Comment