Showing posts with label Kids. Show all posts

Saturday, May 21, 2011

Kids Fun Wall

I'm so excited to share my latest and greatest project with you! 

A magnetic, chalkboard, dry erase, 
with sliding ladder WALL!  
Wow that's a mouthful!!!!
But I think it all came together beautifully and my son LOVES it.......

Things I have always wanted to include in my Home Decor are galvanized wainscoting (that a friend had in their basement), a sliding ladder (from my favorite library) and chalkboard paint!! 

After seeing The DIY Show Off's sliding ladder and Attempting Aloha's homemade chalk paint....it inspired me to start a project and include all the things I LOVE.

This Art Activity Wall is on a 9ft wall in a hallway in front of my son's room

This project cost around $100. 
Here is what I used:
  • Homemade Chalk Paint ($10)
  • 1 Sheet of Galvanized Steel ($24)
  • Pipe and Fittings ($ 30)
  • 1x8 10ft primed board  ($15)
  •  Dry Erase Paint ($15)
Items we had on hand were wood and wheels for ladder.
Here are Steps 1-4:

Step #1: Painting
I made homemade chalkboard paint using white non-sanded grout and flat interior paint. I bought the grout at Home Depot for about $4.
I used Glidden's Tropical Lagoon for my upper wall.
Mix 2 Tablespoons of grout to 1 Cup of paint. The paint will be slightly gritty. I used 2 cups of  the blue paint and painted 2 coats on my upper wall.
I may be creative but I can't draw a straight line! 
So I cheat and use my handy dandy projector and some transparency paper..... 
I found this projector at my Habitat Store for $15! 
But I'm told that most libraries, schools or colleges will loan them out......
I search google images for ideas, printed them on transparency paper,
project them on the wall and traced.
Easy Peasy!!!
This takes less than an hour:-)
Next, I mixed a little grout with some of my craft paints. We are learning our colors so I painted the train, sun and trees in bright fun colors.
After the chalkboard wall was completely dry, I prepped by wiping the whole wall down with chalk and wiping clean.


Step #2: Magnetic Wall
There are many colors of steel....I used a 36" x 10' sheet of galvanized steel for  $23.30. I decided to use the sheet horizontal. Placing the 10 ft sheet on it's side saved money and  we only had to make one cut for my 9 ft wall.
 I always have my little helper with me:-)
We measured and marked the steel and cut with tin snips
Find studs, mark and screw in place.
We framed out the steel with a 1x8 and 1x1 board,
so no little fingers get cut on the steel
I painted both boards with Dry Erase paint.
Dry Erase paint needs to be mixed to activate and used with in 2 hrs. and you have to wait 3 days for it to cure....
I painted the boards, clouds, train windows 
and the closet door at the end of the hall with dry erase paint.

Step #3: Make Ladder
Mark two 4ft 2x4's and cut holes. 
We cut a  dowel, glued and clamped in place.

For less damage on our hardwood floors, we used rubber wheels and screwed them on sideways. 

We measured and marked the amount of tilt for the ladder and  cut holes


Step #4: Pipe and Fittings
We bought a 3/4" 10 ft pipe for $14.92. 
Home Depot will cut and thread the pipe for free!! 
So cool! 
To attach the pipe and allow the ladder to slid, you will need 2 of each:  floor flange,  nipple  and elbow. 
You will need the same size as your pipe. 
We used a 3/4" pipe but they come in larger and smaller sizes. 

Screw one end to wall, thread ladder and screw in opposite end.
I found it easier to paint the ladder while it was hanging...
 I painted the ladder in a chalkboard black. 
One felt tree and one chalkboard tree....
He will be able to draw apples OR pick apples!!
In my next post I will share all the adorable felt items I got from this Etsy shop...
There is so much activity and  learning in-cooperated in the wall:-)

 We have loooong winters here in Wyoming so this wall will provide lots of learning entertainment for years to come....

Wednesday, April 20, 2011

Toddler Trundle Bed

Toddler Trundle Bed Tutorial

Today I'm going to show you how I constructed the toddler trundle bed that I created for the SYTYC audition.

First, I measured the space under my queen bed to see how much space I had to work with. It ended up being approximately 24" x 44" if I wanted to clear my nightstand.  The height could be a maximum of 6" tall. I have included quite a few pictures to show you the process step by step.  Please pardon the messy garage. 
I used 1 x 4's to make the frame.  Mark the 1 x 4 at 24" and cut. Repeat so you end up with two pieces of this size.


Then measure to 43" and cut.  Repeat so you have two pieces of this size.


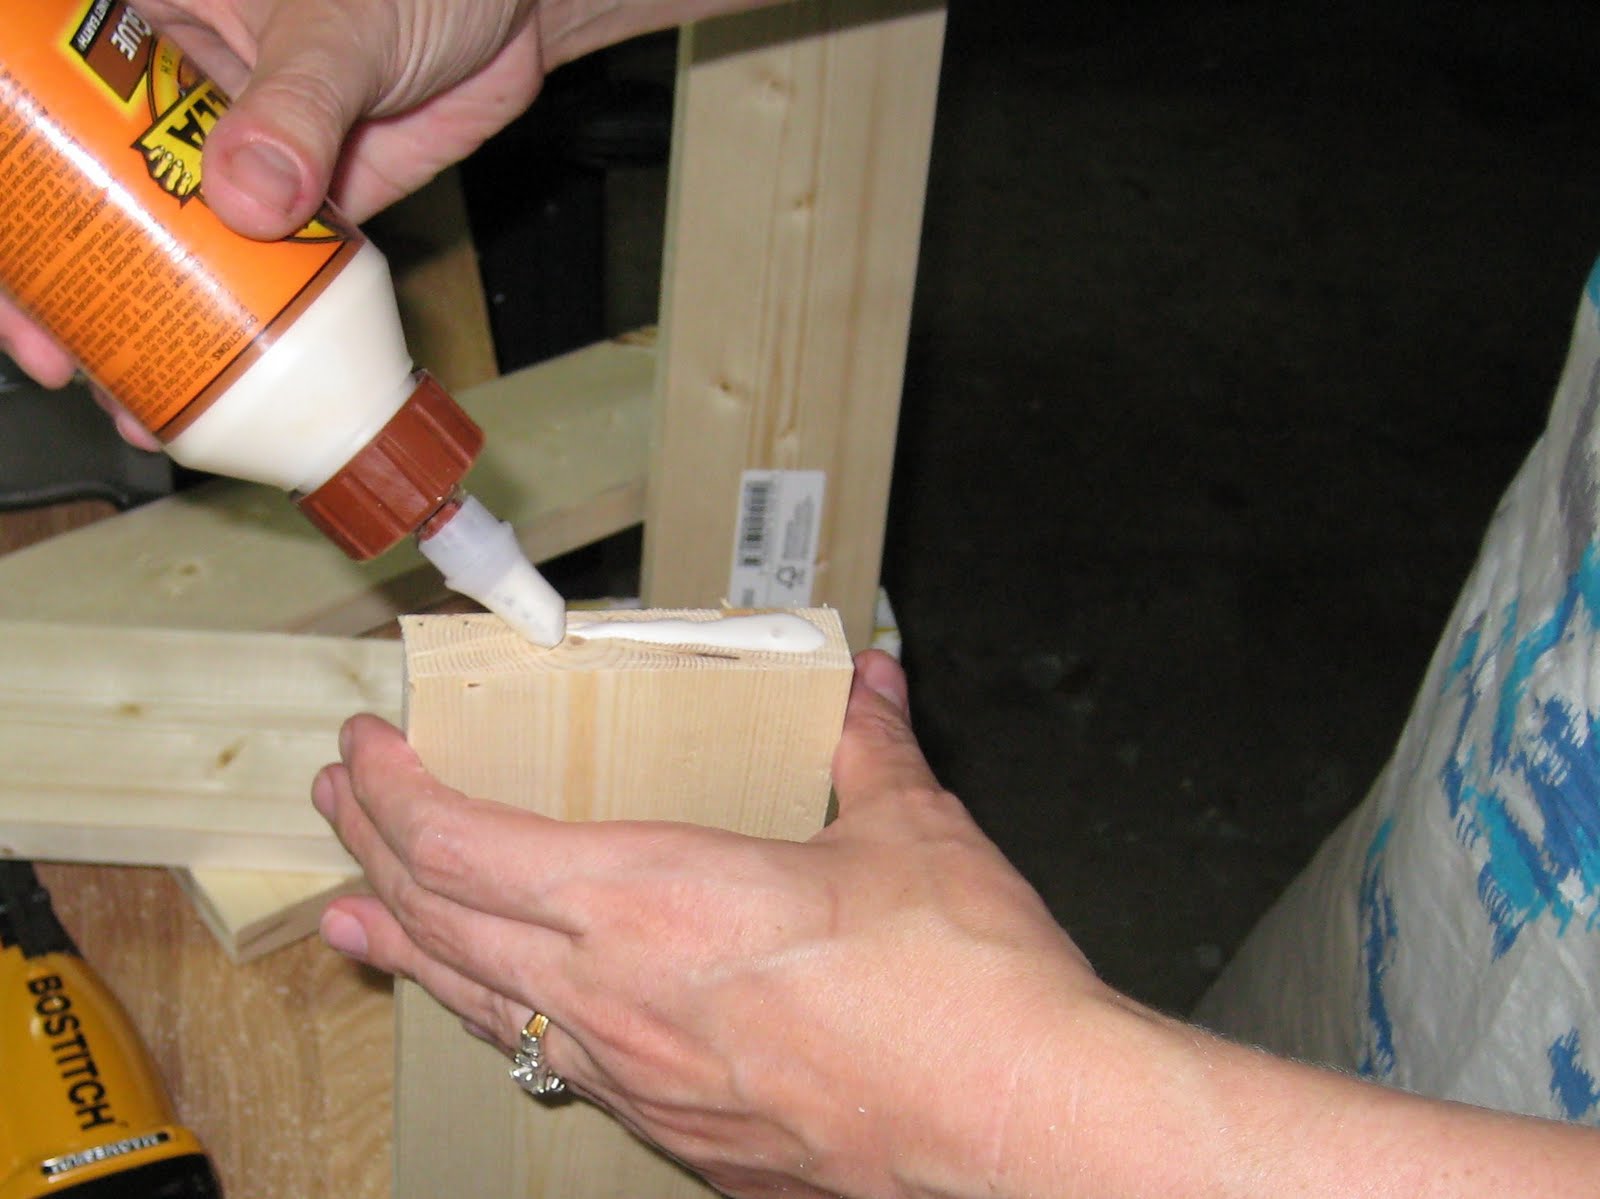
 I used glue to give it a stronger bond before I used the staple gun.


Staple wood pieces together to make the frame.


Now you need to cut four 45 degree triangles for the corners.  This allows for the inside frame to have support and will be where we install the casters.

 
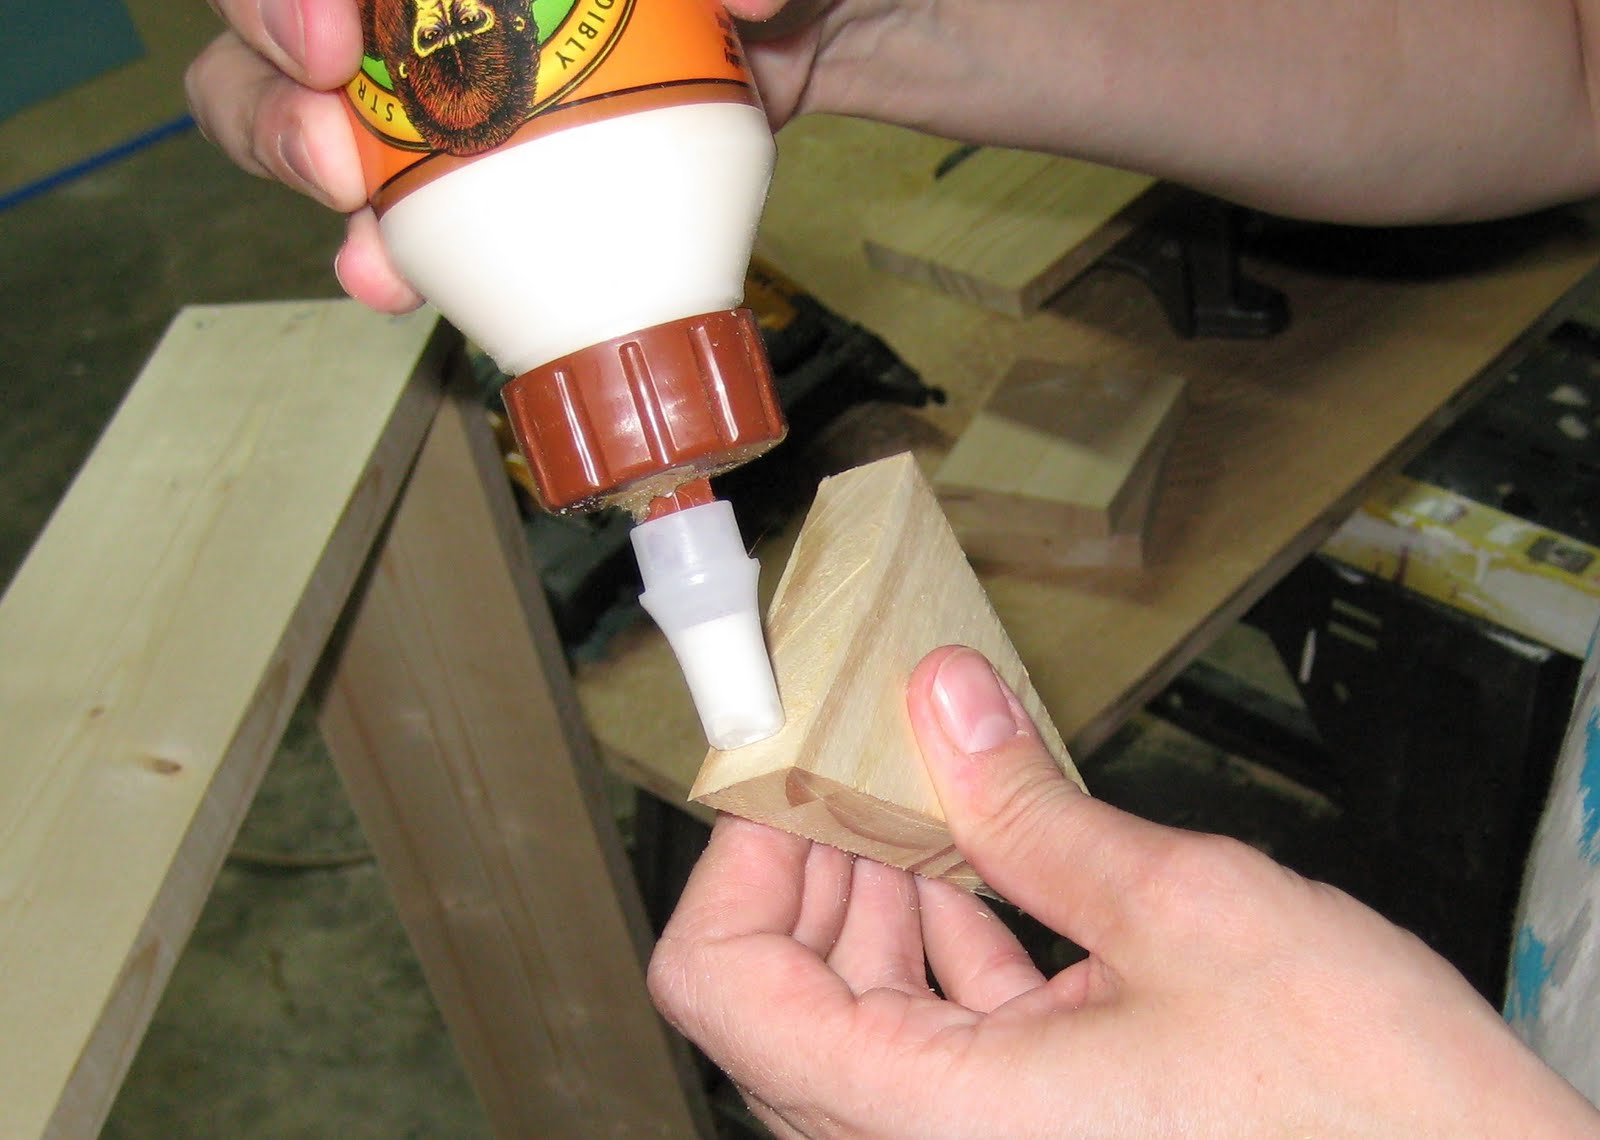
I used glue again and then stapled it into the corners.


Attach 4 small casters in each corner.


Here is what we have so far.  Now we are going to move on to the inner frame that will support the foam mattress. 

I used 1 x 2's for the inner frame.  You will make this frame slightly smaller.  Measure your inside dimensions of your 1 x 4 frame and take a half inch off the length and width. Measure your 1 x 2 and cut the 4 pieces out.


Glue and staple frame together.


Now you are ready to attach the jute onto the frame.  Measure out your frame and decide how many pieces of jute you think you'll need.  I ended up using 4 pieces running the length of the frame and 8 pieces running the width. Staple them to the edge of your frame.  Space them evenly.


 Now you will need to weave the jute through and staple at the edge.


Here is the backside of the frame.  This shows you the location of where I put the staples. You will need to put in two extra supports running the width of the frame so that it gives it a little more support.  I don't have a picture showing this step, but if you have questions let me know.


Now set in frame to see if it fits.


The next step is to fill and sand the edges.  Then you are ready to paint the frame.


Now install the handle on the side. For the mattress I used 3" thick foam. I cut it to size using an electric bread knife. This is the easiest way to cut through foam.  It slices it like butter.  Place the foam on top of the jute frame. The bed is essentially complete.  Sheets will need to be made to fit since it is an unusual size.  I found instructions here to make your own fitted sheets.  Also, you might want to consider making a waterproof mattress cover as well since it is a toddler bed.  To complete the project I made the comforter and pillow case.


My daughter has already put it to use as you can see.

Friday, April 15, 2011

Table Setting Placemat

This project I'm sharing with you today was inspired by my son.  He always wants to help with dinner, and I try to let him help wherever he can with the prep work, but while I'm doing the cooking, he likes to help by setting the table.  This placemat was designed to help little kids do just that, showing them where to put the plate, knife, fork and spoon. So I give you the . . .


These Table Setting Placemats are fun and functional.  They bring together some of my favorite techniques: painting, sewing and quilting.


The knife, fork and spoon are painted on using freezer paper and fabric paint


and the top of the placemat is pieced together to allow a fun fabric in the middle.  They can be bright and fun like mine or made to coordinate with your kitchen colors or patterns.  It has very simple quilting to make it a quick project.


Your kids will have fun setting the table


My three-year-old got in on the fun and set the table too. (I love those tiny fingers!)


Then, of course, you must sit down for a little "snack" and some fun too.


So let's make this placemat!


You'll need:
the Knife, Fork and Spoon template
fabric paint and brush
freezer paper and craft knife
thread, scissors, sewing machine, iron, etc...

For each placemat you'll make, you'll also need:
middle front fabric 12" x 12"
left front (fork side) fabric 3.5" x 12"
right front (knife/spoon side) fabric 4.5" x 12"
back fabric 18" x 12"
low-loft batting 18" x 12"
seam binding (home-made or store bought), 1/2" wide, double fold, approx. 70"


The fabric I used for the top pieces are Metro Cafe Flatware in Vintage (Robert Kaufman) and a linen/cotton blend in off-white.  The binding is a small polka dot print from Robert Kaufman.  The back is a print I had lying around from Jo-Ann's.


Seam allowances are 1/2" for this project, unless otherwise noted.

Start by sewing your middle front piece to the left front and the right front on the left and right sides, respectively.  Iron flat and set aside.


Using your template, cut out the knife fork and spoon onto freezer paper.  Cut the fork on a separate piece from the spoon and knife.  Hint:  If you're making more than one placemat, you can put a couple pieces of freezer paper under the template to cut out a few at a time. 


Once you've made your stencils, iron them onto the top of the placemat.  (Fork on the left, knife and spoon on the right.)


Paint the knife, fork and spoon using whatever colors you like.  I chose colors that would compliment my center fabric.  (Mandarin Orange, Lime and Turquoise).  For some extra tips on freezer paper and painting go here.


Allow the paint to dry before removing the freezer paper and when the paint is completely dry, heat set the paint by ironing it.  You should feel a texture difference after heat treating (it will now be smooth instead of rough).


Take your back fabric piece and lay it right side down.  Next place the batting on top and finally your placemat top, right side up.  Pin these layers together for quilting.


Since this is a small placemat, you don't need a special quilting foot for your machine (but of course you can use one if you like).  Start by stitching in the ditch along the division between the left/middle and middle/right of your placemat top.  (This means simply stitch in the seam line between your top fabric pieces.)

Now slowly sew around your fork close to the paint, roughly a 1/8" away from the edge.


Repeat for the knife and spoon.


To quilt the space for the plate.  Go to the kitchen and grab a plate or large bowl and trace around it with chalk or a fabric pen.


Repeat with a slightly smaller plate or bowl for a smaller inner circle.


Sew on these lines and remove any markings from your pen/chalk when you're done.


Sew on the binding.  Start by opening the binding and pinning the edge of the binding to the edge of the placemat (right side down), leaving a tail of about 5".

placemat - how to, 10

Start sewing down the seam binding, by sewing in the fold line.  Since I made my seam binding, I chose not to waste extra fabric, so I only have about 1/4" from the fold to the edge.  You may have more. 

placemat - how to, 9


When you reach a corner, stop approx 1/4" from the end.  (More if your seam binding has a larger distance from the fold.)

placemat - how to, 8


Fold the seam binding up

placemat - how to, 7

then down (at the edge of the placemat).

placemat - how to, 5

placemat - how to, 6

Continue sewing until you've gone all the way around stopping a few inches from where you started.

placemat - how to, 4

Lay the seam binding out flat and pin where the two pieces come together.

placemat - how to, 3

Pull the seam binding away from your placemat and sew them together.  Trim the excess.

placemat - how to, 2

Lay the binding flat onto the placemat and stitch in place. 

placemat - how to, 1

Fold over the seam binding and stitch in place by hand, making sure your thread doesn't show through to the front side.


And you're done!


So go ahead make one or two . . . or six!