
Patio Paver Planters
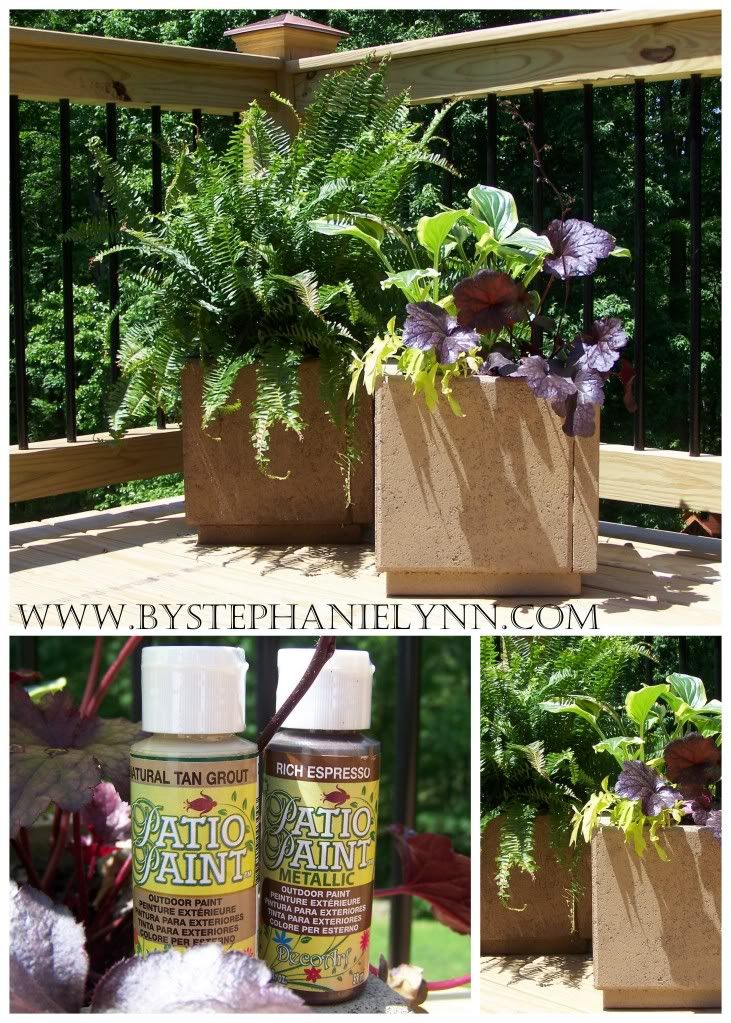
I have a slight obsession with flowers this time of year. The minute the stores open up their garden section I am beyond giddy with excitement. Not only do I enjoy overfilling our flower beds and gardens; but any little nook and cranny I can stick a container pot, I do! I have gone through my fair share of pots; plastic ones that I spray painted and have chipped, terra cotta that have aged nicely but cracked, and large decorative fiberglass pots that are simply too expensive. The best pots I have found to date, that I can and have relied on for the past few years, are these handmade paver planters; Quick and easy to put together, very durable and sturdy, and for $6.00 a pot a great deal by far. Along with the combination of DecoArt Patio paints the sky is the limit for coordinating these to match your outdoor decor.
 Patio Paver Planters
Materials Needed:
Five 12X12 Patio Pavers {per pot}
Weatherproof Construction Adhesive {for outdoor use}
DecoArt Patio Paint
 I purchased the patio pavers in the Lawn and Garden section of Home Depot. They are very inexpensive; only a dollar or so a piece. You will need five pavers per pot.
 Lay out four pavers to form a perfect square. You can see in the photo above that each end overlaps.


Once you have your form, tilt one tile back and apply the construction adhesive on the overlapping lip and firmly press back into place. The construction adhesive can be found along with caulks and sealants in the painting section. {you will need a caulk gun to apply} Move to the opposite side and repeat the adhesive process. All corners should now be adhered.
 Now you are ready to attached the bottom. Squirt the construction adhesive in a small bead-like pattern around the inner lip of the entire planter. This will help with water drainage for your planter.
 Firmly press the last paver in place, making sure it is centered on the bottom, and let dry for 24 to 48 hours without moving.
 To decorate I used DecoArt patio paint. This specially formulated acrylic paint is permanent and weather resistant which makes it the perfect choice for outdoor decor. It does not peel or crack and can be used on concrete wood and terra cotta just to name a few. It is available in 63 different colors too! {found here} As much as I adore color, I used two neutral shades as I like a more natural look outdoors. I covered one pot in Natural Tan Grout {DCP39} and the other in Rich Espresso {DCP401}.
 The Rich Espresso is a gorgeous metallic with just the right bit of shimmer in the summer sun.
 Once the paint cured, I flipped over the pots and filled with a few of my favorite greens. {these are quite heavy so make sure you move them to where you would like to keep them before you start planting}
 I like to choose plants that will last all season and make a lovely appearance year after year.
 I planted Hosta, Plum Pudding Heuchera, and Ipomoea in one planter and a Fern in the other.
 I love the look of various shades of green and the deep purple of the Plum Pudding.
 I'm still trying to figure out if I have anymore spaces left so I can make more of these cuties!
 Patio Paver Planters
Materials Needed:
Five 12X12 Patio Pavers {per pot}
Weatherproof Construction Adhesive {for outdoor use}
DecoArt Patio Paint
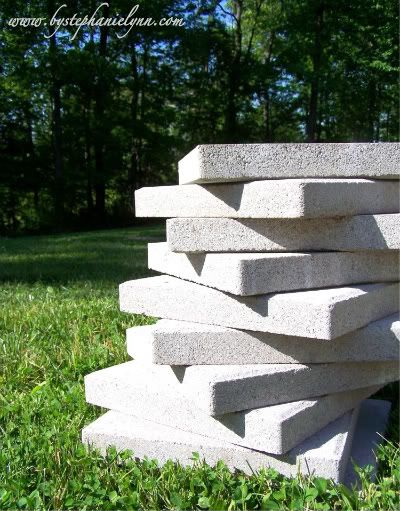 I purchased the patio pavers in the Lawn and Garden section of Home Depot. They are very inexpensive; only a dollar or so a piece. You will need five pavers per pot.
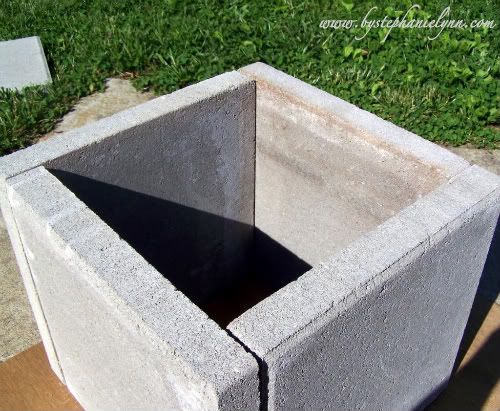 Lay out four pavers to form a perfect square. You can see in the photo above that each end overlaps.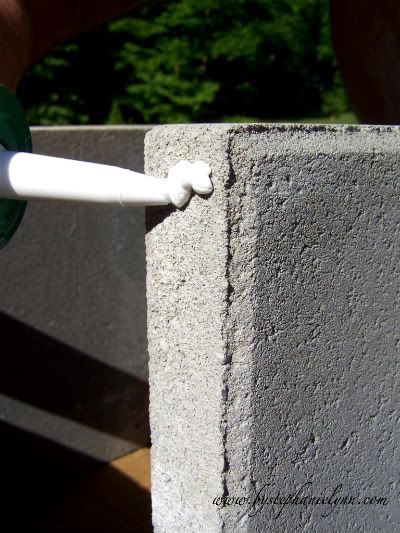
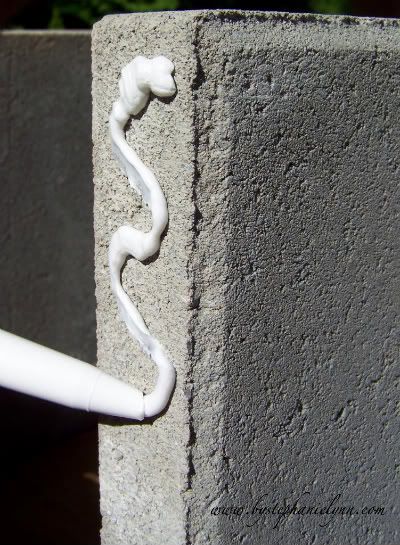
Once you have your form, tilt one tile back and apply the construction adhesive on the overlapping lip and firmly press back into place. The construction adhesive can be found along with caulks and sealants in the painting section. {you will need a caulk gun to apply} Move to the opposite side and repeat the adhesive process. All corners should now be adhered.
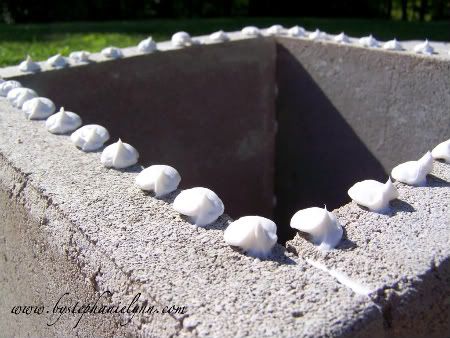 Now you are ready to attached the bottom. Squirt the construction adhesive in a small bead-like pattern around the inner lip of the entire planter. This will help with water drainage for your planter.
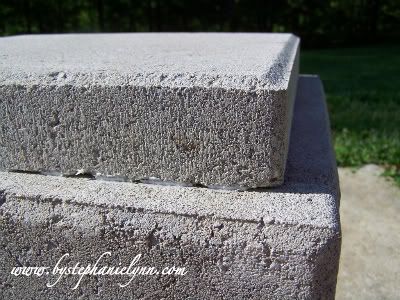 Firmly press the last paver in place, making sure it is centered on the bottom, and let dry for 24 to 48 hours without moving.
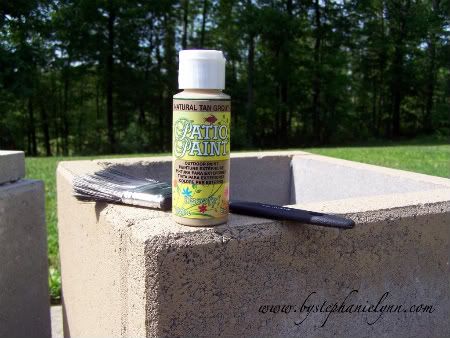 To decorate I used DecoArt patio paint. This specially formulated acrylic paint is permanent and weather resistant which makes it the perfect choice for outdoor decor. It does not peel or crack and can be used on concrete wood and terra cotta just to name a few. It is available in 63 different colors too! {found here} As much as I adore color, I used two neutral shades as I like a more natural look outdoors. I covered one pot in Natural Tan Grout {DCP39} and the other in Rich Espresso {DCP401}.
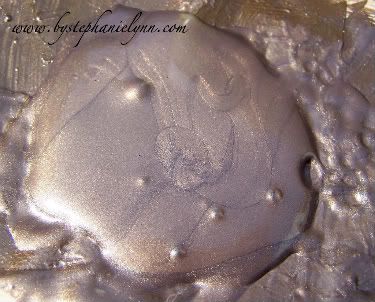 The Rich Espresso is a gorgeous metallic with just the right bit of shimmer in the summer sun.
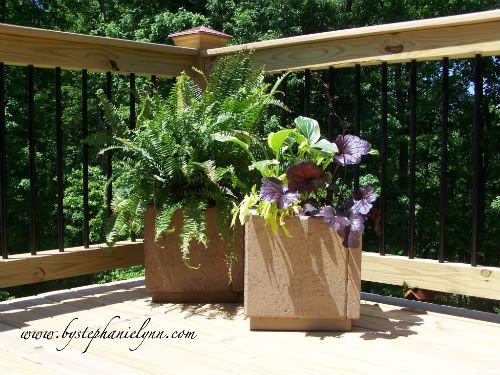 Once the paint cured, I flipped over the pots and filled with a few of my favorite greens. {these are quite heavy so make sure you move them to where you would like to keep them before you start planting}
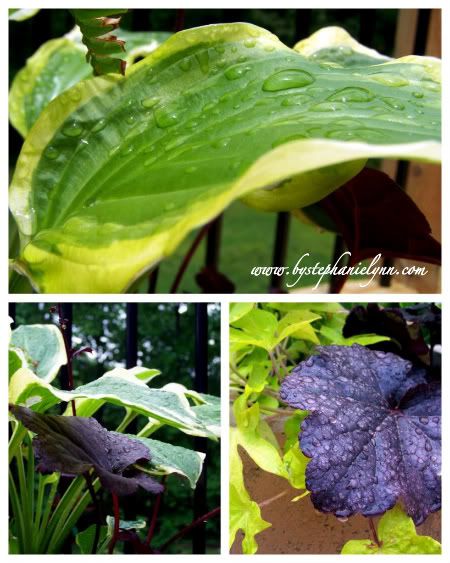 I like to choose plants that will last all season and make a lovely appearance year after year.
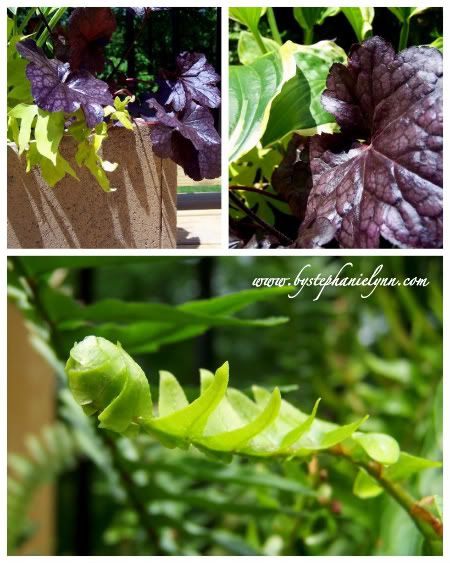 I planted Hosta, Plum Pudding Heuchera, and Ipomoea in one planter and a Fern in the other.
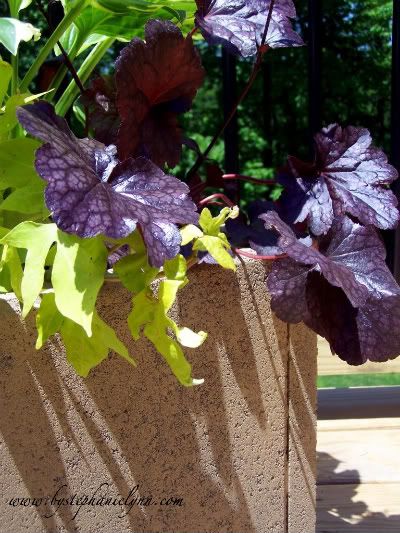 I love the look of various shades of green and the deep purple of the Plum Pudding.
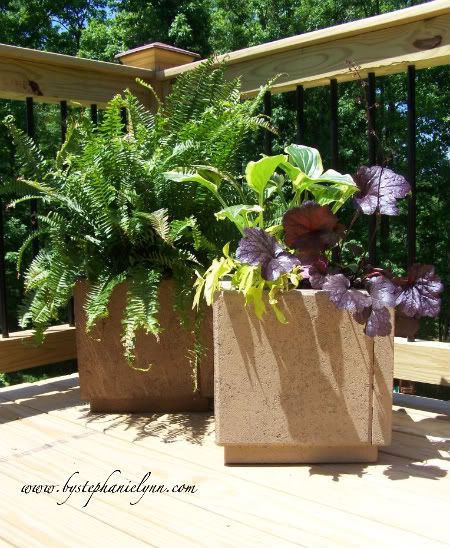 I'm still trying to figure out if I have anymore spaces left so I can make more of these cuties!


