

These Table Setting Placemats are fun and functional. They bring together some of my favorite techniques: painting, sewing and quilting.

The knife, fork and spoon are painted on using freezer paper and fabric paint


and the top of the placemat is pieced together to allow a fun fabric in the middle. They can be bright and fun like mine or made to coordinate with your kitchen colors or patterns. It has very simple quilting to make it a quick project.

Your kids will have fun setting the table


My three-year-old got in on the fun and set the table too. (I love those tiny fingers!)


Then, of course, you must sit down for a little "snack" and some fun too.

So let's make this placemat!

You'll need:
the Knife, Fork and Spoon template
fabric paint and brush
freezer paper and craft knife
thread, scissors, sewing machine, iron, etc...
For each placemat you'll make, you'll also need:
middle front fabric 12" x 12"
left front (fork side) fabric 3.5" x 12"
right front (knife/spoon side) fabric 4.5" x 12"
back fabric 18" x 12"
low-loft batting 18" x 12"
seam binding (home-made or store bought), 1/2" wide, double fold, approx. 70"
The fabric I used for the top pieces are Metro Cafe Flatware in Vintage (Robert Kaufman) and a linen/cotton blend in off-white. The binding is a small polka dot print from Robert Kaufman. The back is a print I had lying around from Jo-Ann's.

Seam allowances are 1/2" for this project, unless otherwise noted.
Start by sewing your middle front piece to the left front and the right front on the left and right sides, respectively. Iron flat and set aside.

Using your template, cut out the knife fork and spoon onto freezer paper. Cut the fork on a separate piece from the spoon and knife. Hint: If you're making more than one placemat, you can put a couple pieces of freezer paper under the template to cut out a few at a time.

Once you've made your stencils, iron them onto the top of the placemat. (Fork on the left, knife and spoon on the right.)

Paint the knife, fork and spoon using whatever colors you like. I chose colors that would compliment my center fabric. (Mandarin Orange, Lime and Turquoise). For some extra tips on freezer paper and painting go here.


Allow the paint to dry before removing the freezer paper and when the paint is completely dry, heat set the paint by ironing it. You should feel a texture difference after heat treating (it will now be smooth instead of rough).

Take your back fabric piece and lay it right side down. Next place the batting on top and finally your placemat top, right side up. Pin these layers together for quilting.


Since this is a small placemat, you don't need a special quilting foot for your machine (but of course you can use one if you like). Start by stitching in the ditch along the division between the left/middle and middle/right of your placemat top. (This means simply stitch in the seam line between your top fabric pieces.)
Now slowly sew around your fork close to the paint, roughly a 1/8" away from the edge.


Repeat for the knife and spoon.

To quilt the space for the plate. Go to the kitchen and grab a plate or large bowl and trace around it with chalk or a fabric pen.

Repeat with a slightly smaller plate or bowl for a smaller inner circle.

Sew on these lines and remove any markings from your pen/chalk when you're done.

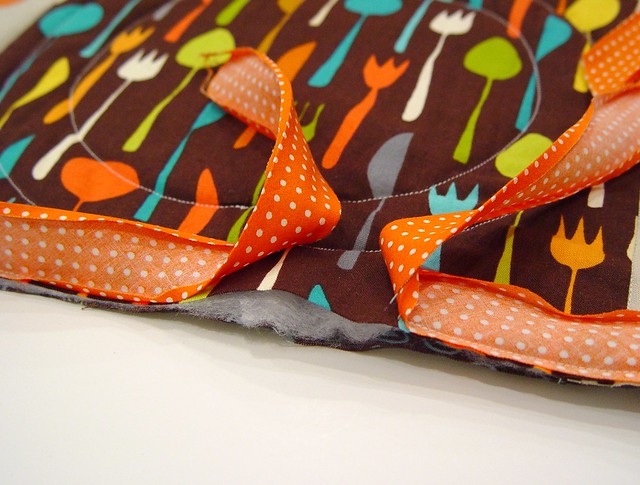
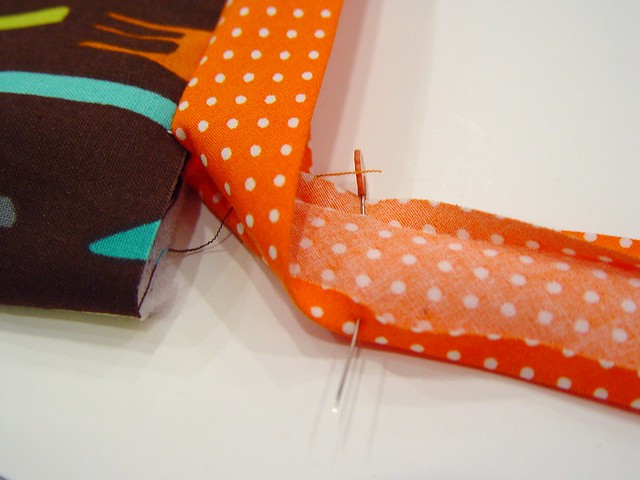
Sew on the binding. Start by opening the binding and pinning the edge of the binding to the edge of the placemat (right side down), leaving a tail of about 5".
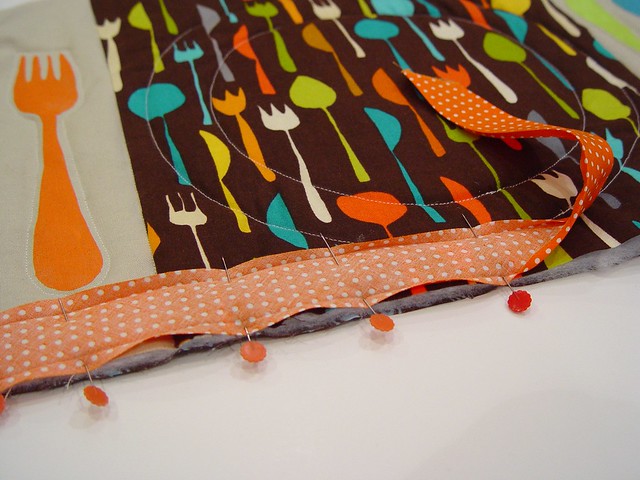
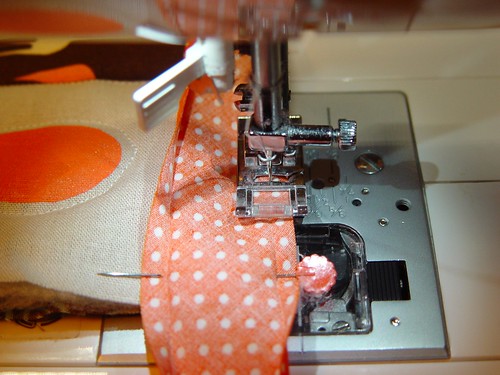
Start sewing down the seam binding, by sewing in the fold line. Since I made my seam binding, I chose not to waste extra fabric, so I only have about 1/4" from the fold to the edge. You may have more.
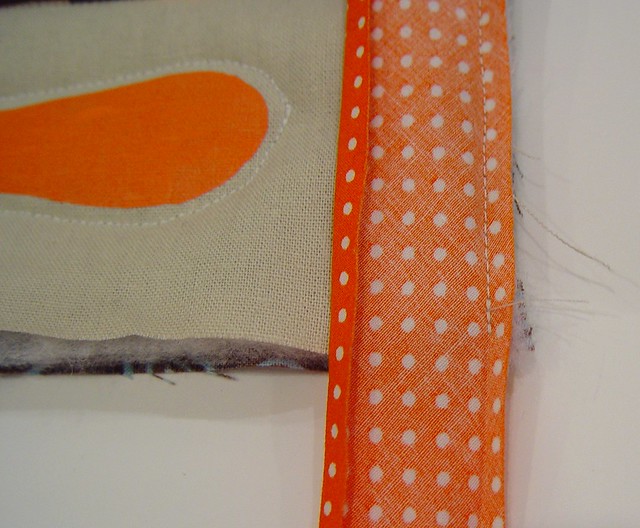
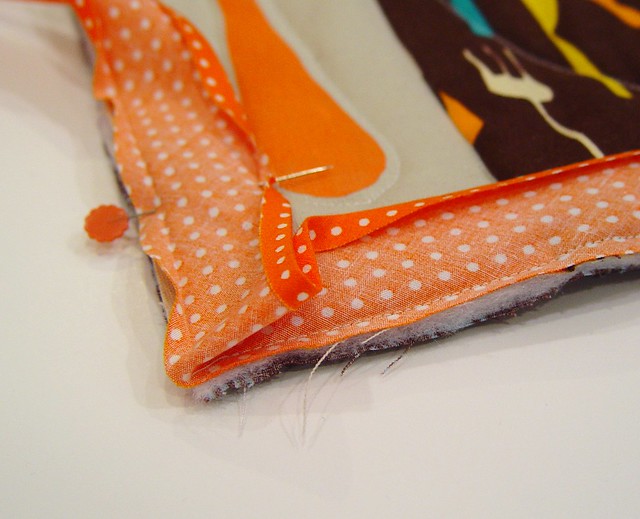
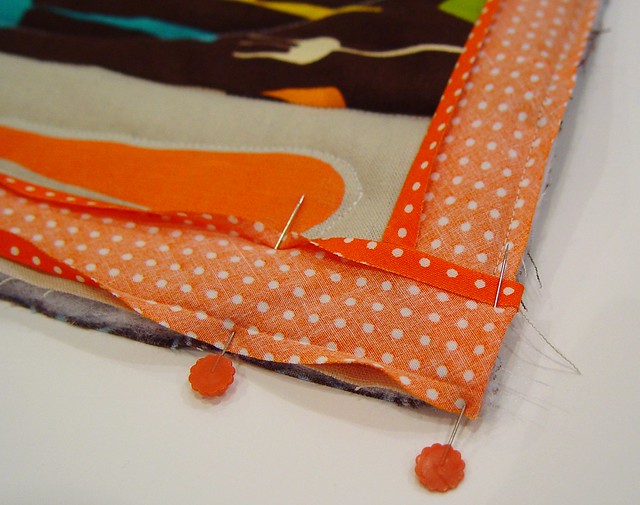
When you reach a corner, stop approx 1/4" from the end. (More if your seam binding has a larger distance from the fold.)
Fold the seam binding up
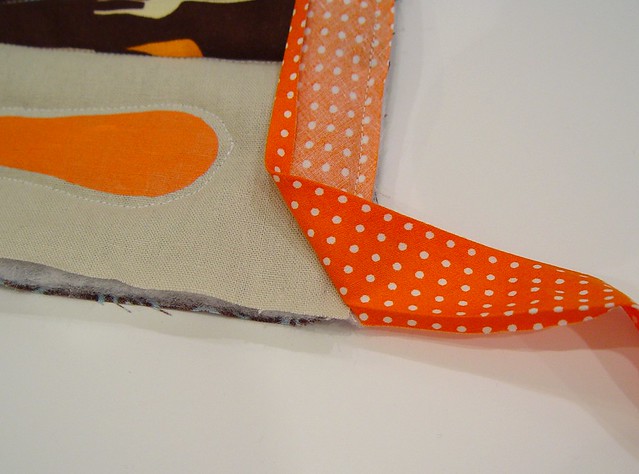
then down (at the edge of the placemat).
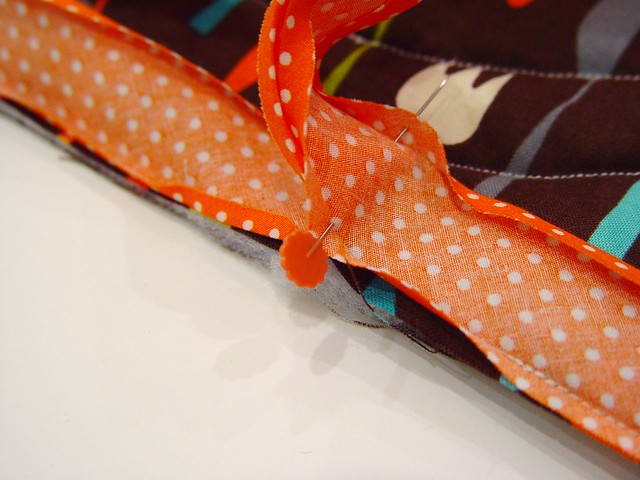
Continue sewing until you've gone all the way around stopping a few inches from where you started.
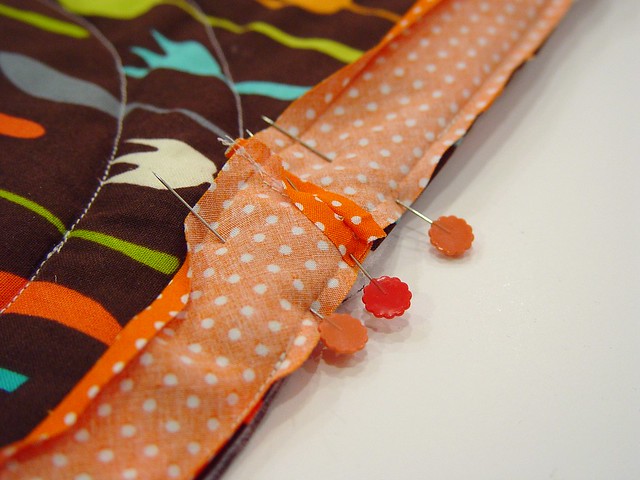
Lay the seam binding out flat and pin where the two pieces come together.
Pull the seam binding away from your placemat and sew them together. Trim the excess.
Lay the binding flat onto the placemat and stitch in place.
Fold over the seam binding and stitch in place by hand, making sure your thread doesn't show through to the front side.

And you're done!
So go ahead make one or two . . . or six!
No comments:
Post a Comment