Thursday, February 25, 2010

Fabric Wall Hangings

From: Make it and Love it

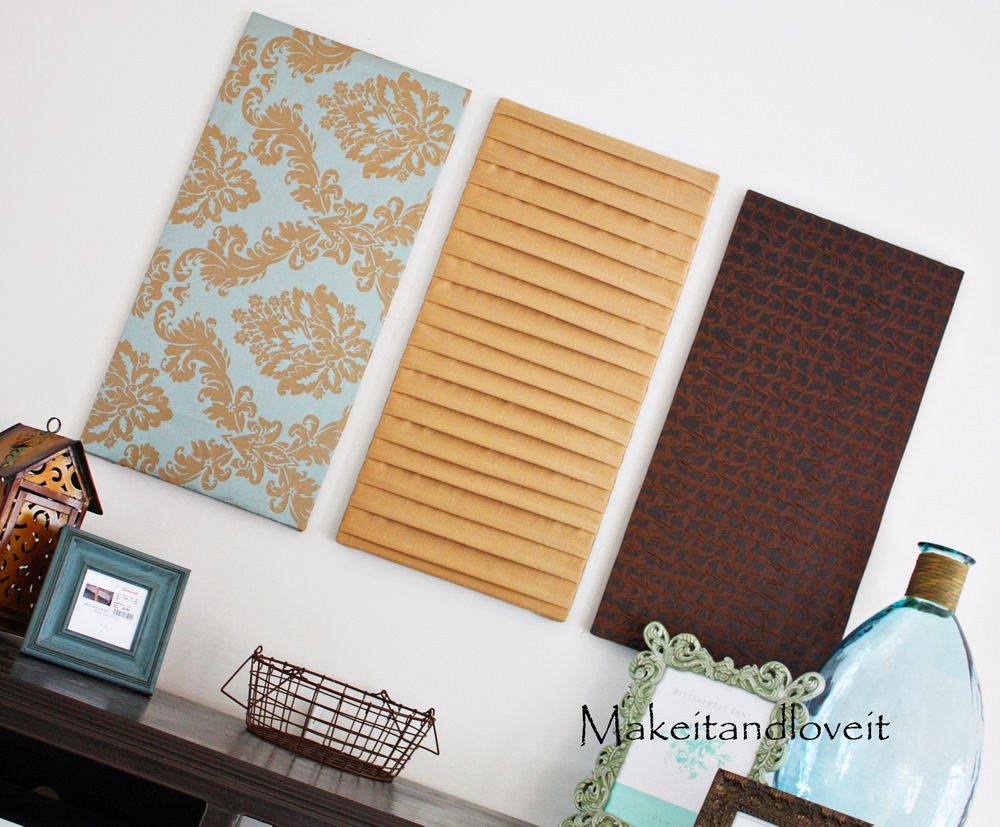
We have a big space above our entertainment center.
And a fairly tall ceiling.
So I came up with a solution to fill up all of that plain 'ol wall.
(No paint allowed......oh, the life of a renter.)
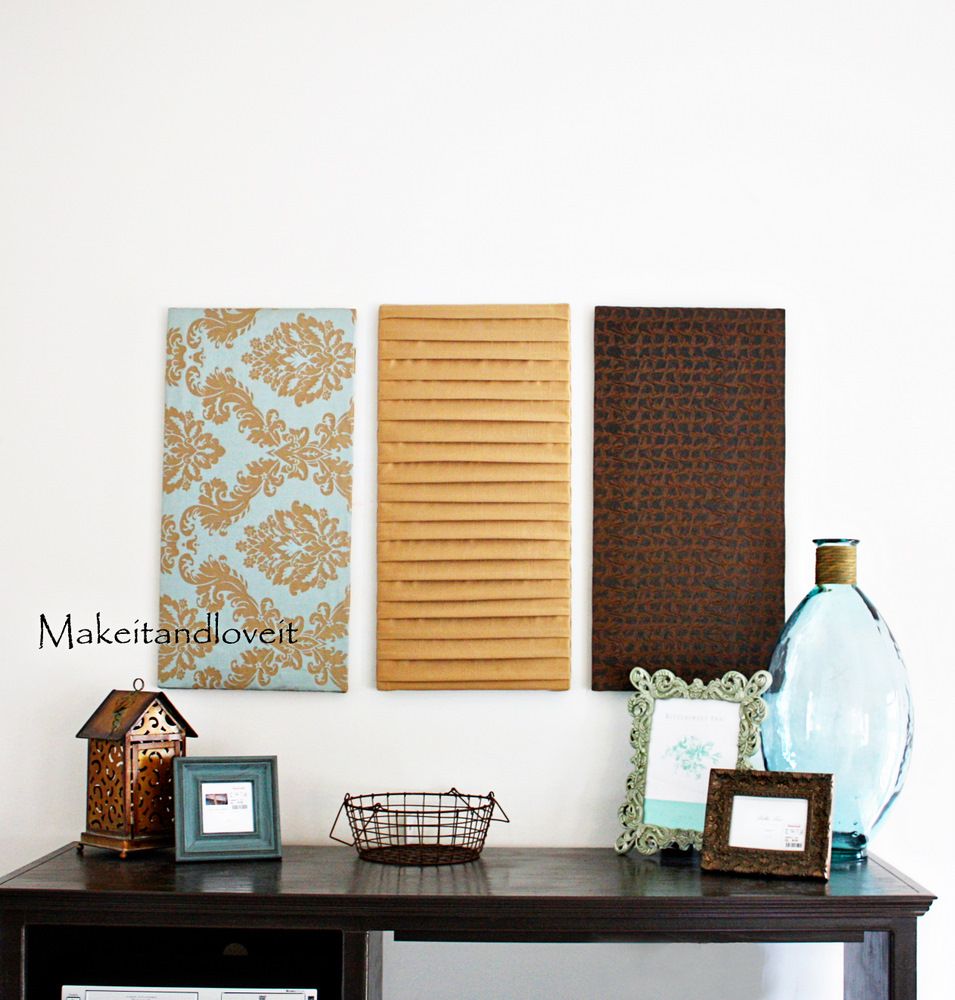
(Ignore those empty picture frames......pictures are being printed.)


Do you remember when I made some wall hangings a while ago? Well I wanted some big ones for our front room. But a custom size, different than the art canvases available.....and a bit cheaper.

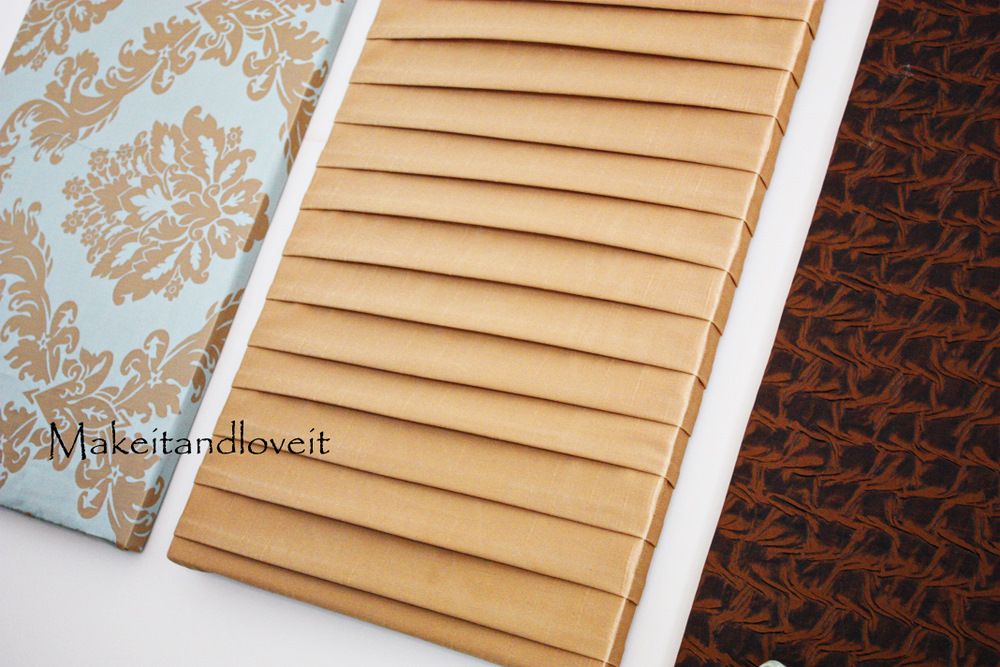
And I added a bit more texture this time around.....


Ah, just right for our space.


So I bought a piece of underlayment from Home Depot. I have no idea what it's intended for but it was $5 for a 4 x4 foot piece...........just perfect for my budget. (all of you carpenter minded folks......just keep the laughter minimal.) It's super thin and some sort of pressed wood. I cut three pieces that were 15 x 30 inches.


And did you know that there is a sale section at the hardware store? (I was at home Depot)
Yeah, just like a sale rack at the back of the clothing store. Man, I am a sucker for a good sale. (Especially at the clothing store, but we can talk about that later....)
And once I saw those markdown signs of $0.50, $1.00, and $2.00, I dove right in.
That's where I found some scrap wood to make the frame for the wall hangings.

Gosh, I guess the pieces of wood are about 1 x 2 inches. They weren't the full lengths and must have been used for other things and then the scraps were thrown into the sale bin. (So save your change and go on and check out your nearest hardware store.)

So I cut my pieces of wood to fit within the size of the large piece of underlayment. The 2 long pieces were 30 inches long and the 2 end pieces were 11 inches long.


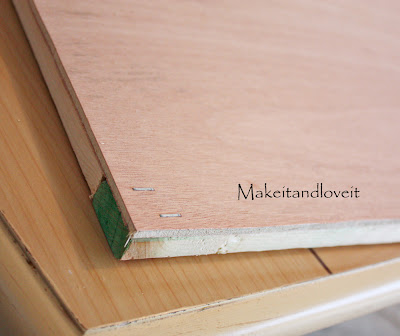
Then I used a staple gun to attach them at the corners..... (you can use nails and make diagonal corners and such......but this is a quicker and perfectly stable solution. They don't hold much weight at all.)


And then stapled the underlayment piece right to the wood frame.


Then I cut a piece of material slightly bigger than my form, making sure to have enough excess fabric to fold around the back. Pull fairly tight and staple in place.....


And fold the corners over nice and snug.....


For the center gold wall hanging.........I made folds in my piece of fabric and pinned and ironed as I folded.


They weren't huge folds, just enough to tuck the fabric underneath.


The fabric I used was sort of satin-y so the folds didn't stay ironed perfectly well. (If using a lightweight cotton, you shouldn't have the problem I did.) So I sewed the folds in place at the sides and kept the center pinned.......


And then staple the fabric (with the pins still going down the center) to the wooden form, making sure to pull the edges tight, securing the folds in place. (Start on one of the sides and staple along the entire side. Then pull as you are stapling the other side. Then staple the shorter ends.........but don't pull to hard on the ends, or you will pull on the folds a bit.) Then take the pins out.


Pound in some nails and hang up your new focal point to the room.

Scripture Cover Tutorial


From: U Create
Hi there! I'm Linda, the {craft}addict behind Craftaholics AnonymousYep, I'm a Craftaholic. I'm happy to say that I'm past the denial stage....thanks to a small intervention from the hubs. I'm a Craftaholic and proud of it!

I'm a SAHM with one cute little man who is a really good sleeper. He sleeps 12 hrs at night and two 1.5 hour naps during the day. So I have plenty of time on my hands. As you can probably guess, my blog is chock full of crafts. I sprinkle in tutorials and giveaways as well. And next week (Nov 23-27) I am doing a Tutorial Week where I bring you a new tutorial each day. And I have a giveaway lined up for the event too. It's going to be awesome!

Ok, back to business. I'm here to show you how to do this lovely Scripture Cover:
This is a fun, easy way to personalize your scriptures, or any book for that matter. I originally did this with a group of girls ages 8-11 at my church. They loved it! And now they are so good at remembering to bring their "cute" scriptures to church!


Supplies:
  • Scriptures, preferably paperback
  • scissors
  • 1 sheet of pattern paper, does not need to be double sided
  • coordinating cardstock
  • paper trimmer
  • hot glue gun
  • double sided adhesive, I used 1/4" Scor Tape
  • tape measure, I recommend a flexible one (this is one of my fav tools!)
  • ribbon, two 4 1/2" strips
  • paper flowers
  • brad, jewel, bead, or button for the center of your flowers


First, you'll want to measure your scriptures all the way around the cover. Mine measured 10 1/2".

Then measure how wide your scriptures are. Mine measured 7 1/8".


My original scripture cover measures 10 1/2" long by 7 1/8" wide. So I cut a strip of paper 12" long (adding 1 1/2" to allow for flaps) and 7 1/8" which is the exact width of my scriptures. So my paper is 12"x7 1/8". Make sure that if your paper has a stripe or design that has an "up" side, that you cut it accordingly.

Wrap the pattern paper around your scriptures and center the paper.

Then pinch the paper along the spine to create a crease. Do this to both sides of the spine.

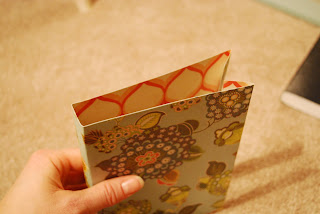
Should look something like this.

Next, fold the paper around the front and back cover, creating flaps as shown.

If you take your paper cover off right now, this is what it should look like.

Next, put your double sided adhesive on the edge of the front flap. Make sure that your scriptures are not backwards or upside down. :)

Fold over and press paper firmly so that the adhesive sticks well. Repeat for the back cover.

Next, I stamped the title of my scriptures on a small piece of cardstock. You could just print it out on your printer. (Just for your reference, the size of my title paper is 2 1/4" by 3".) I then used the blade of my scissors to rough up the edges and ran an ink pad around it. I also put Glossy Accents on the lettering. The scissors, inking, and Glossy Accents are purely optional. Next, cut a matte for your title. I did a 1/8" matte for mine.

Now to assemble your book. (we're almost done! wahoo!)

Using your double sided adhesive, put the title on the front. (sorry for the bad pic)

Next, hot glue one side of one ribbon to the front. The flower is going to hide where the ribbon is glued on, so be sure to play around with the flower beforehand to see where you want it and place the ribbon accordingly. After you have glued on your ribbon, glue the flower on top.

Then hot glue the other ribbon to the back.
And there you have it, fun personalized scriptures!
Thanks for inviting me, Kari! It's been fun sharing this tutorial. Have a great day everyone!

Photo Tile Coasters

From: Brown Paper Packages


I am always on the lookout for fun ideas that will display pictures of my children. I was super excited about this one, and really love how they turned out. They are easy-peasy (you'll be surprised at how simple!), totally inexpensive, and a great gift idea.

ITEMS YOU'LL NEED:

-your choice of 4x4 tile or stone (I used a crumbly stone)
-Mod Podge, brush
-Matte presentation paper for photos
-felt pads, 4 per tile

DIRECTIONS:

-Decide which photos you would like to use, edit, and crop them. Consider what kind of tile you are using, and the look you are going for when deciding which photo effect to use. I went with the sepia tone, because I wanted it to match the stone I was using, and have more of a vintage feel.
-Print them out on the presentation paper. You can use regular photos if you choose, but using the the thinner paper makes it look like it's more a part of the tile.
-Cut the photos to fit the tile; depending on the picture, you may need or want more or less of a tile border. Some of my pics took up the whole space, and others didn't.
-Using your foam brush, apply the Mod Podge to directly on the tile.
-Carefully place your photo so it is centered on the tile.
-LET THE MOD PODGE COMPLETELY DRY before adding the top coat. If you don't, the photo paper will crease and wrinkle immediately. Once it's dried, then apply a light top coat. Don't be alarmed, the Mod Podge will cause it to slightly change colors.
-Apply felt pads to bottom four corners of the tile.
-Groups of 3 or 5 work really well for displaying, as well as for gifts.
-If you want to use these as coasters, you will need to use a protective finishing spray to seal out the water/moisture.

Glass Tile Pendants

From: The Idea Room

Photobucket

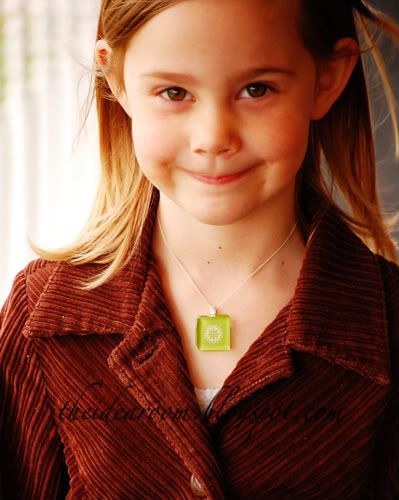
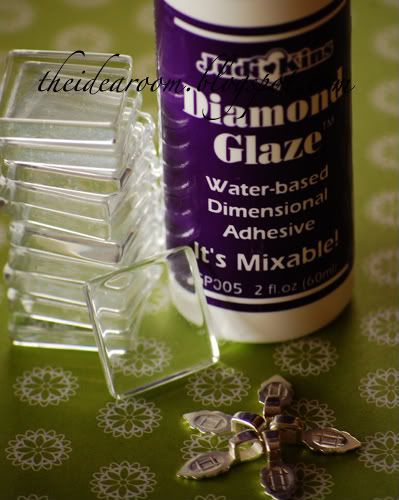
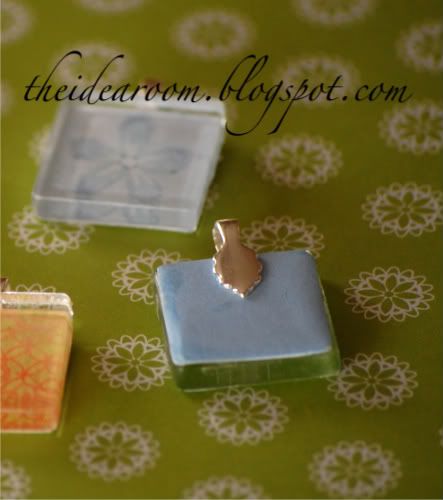
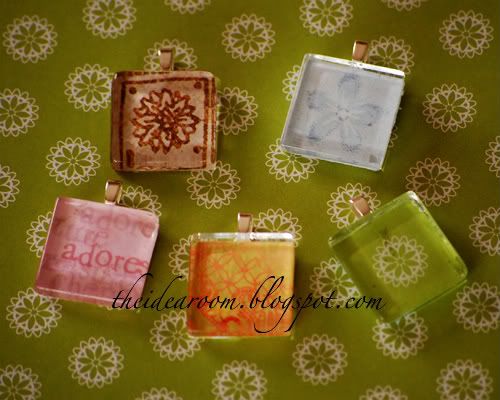
Look at how cute these glass tile pendants are! I found the glass tiles and bails to make these here. I bought my Diamond Glaze at Ben Franklin Crafts.

Photobucket

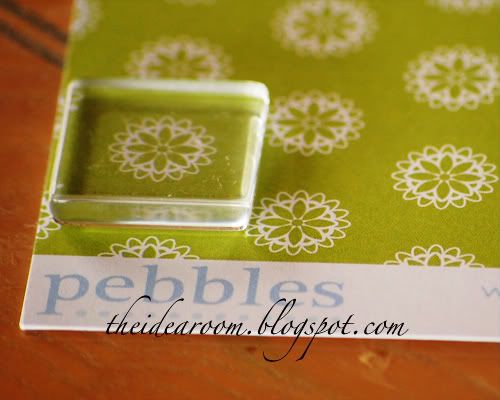
All you need to do is take your glass tile and clean it off. (They were a bit dusty upon arrival). Then find your favorite picture of a child (it has to be a picture from a laser printer or photo store), scrapbook paper or even a peice of fabric as the necklace design.

Photobucket

With a pencil trace around the tile square. When cutting out the square of paper (or other material), cut inside your line so that it fits well on the square. Coat the printed side of the paper, the side you want to see on your necklace, with your diamond glaze. You do not need a lot of diamond glaze, just a couple of small dots will be sufficient. You just need enough to cover a thin layer of the glass tile. Attach your paper to the glass tile. If any excess glaze runs out of the edges of the glass, immediately wipe it clean with a damp paper towel.

Photobucket

Turn your glass tile over so that you are looking at the back of your necklace. Paint a thin layer of Diamond Glaze over the entire back of the necklace and let dry.

When dry, place a small drop of Diamond Glaze onto your bail (chain attachment) and attach the bail in the exact middle on the back and at the top of your necklace.

Photobucket

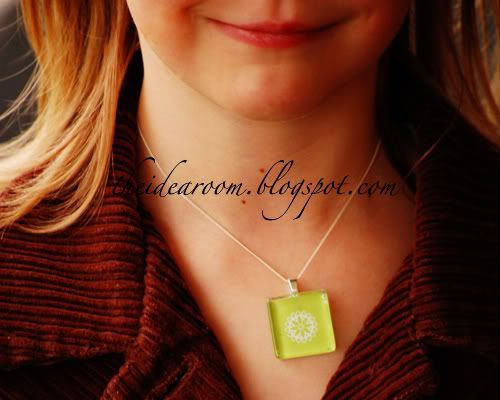
When the glaze has dried, your necklace is finished and ready to wear. Aren't they adorable? I made a few for myself and then let the girls each pick out a design for their own necklace. My sisters don't know it yet, but they are going to be getting some of these for their birthdays this year...Surprise!

Photobucket

As a side note, I happened to be at Home Depot over the weekend and noticed that they sell some of these glass tile in their tile aisle. They come in sheets of about 144 and come in several different mixed colors (with some clear ones). All you would have to do is cut them apart and use some adhesive remover to get the stuff off the back of them. You could use those tiles in much the same way and have some cute colored ones as well!

**Edit--A reader informed me that there is no way to remove the adhesive from the backs of the tiles found in Home Depot. It is baked into the back of the glass tiles. Thanks Michelle!

FHE Metal Board

From: Brown Paper Packages


When I saw something similar to this online, I knew it was what I was looking for. I love all the different pieces that go into it, but wanted to change it up a little bit. I love how it turned out! For the names, they are just basic craft stars, painted black, distressed, and stained. I ordered vinyl lettering for the names, put magnets on the back, and voila!

ITEMS YOU NEED:

-10x1x28 pine board
-9x27 piece of bead board
-8x26 piece of metal sheeting
-vinyl lettering to fit metal, with plenty of space at the bottom to hang magnets
-your choice of paint for wood and bead board
-4 metal tacks
-sub-floor adhesive (in a caulking-like tube)
-4 roofing nails, 1 1/4 inch maximum

DIRECTIONS:

-When buying your wood and bead board, both Home Depot and Lowe's will cut them down the to the size you need for free.
-Router the edges of your pine board. Sand, paint, and stain as desired.
-Paint bead board as desired. If you are using the pre-primed bead board, spray paint covers and sticks much better than craft paint.
-With the roofing nails, attach the beadboard to the center of the pine board in each of the four corners (should be a 1/2 inch border). Make sure you go in far enough that they won't show once the metal sheeting is on.
-Caulk a medium amount of the sub-flooring adhesive to the back of the metal sheeting, but not too close to the edges (it will squeeze out and make a mess). Place it in evenly on the bead board (should have a 1/2 inch border)and press down. Let dry.
-The metal tacks should be placed in each of the four corners of the metal sheeting, for not only a decorative look, but to keep the corners of the sheeting secure. You may need to hammer or drill a small hole through the sheeting first, before attempting to hammer the nails.
-Wipe metal sheeting clean, and let dry. Apply the vinyl lettering, making sure to place your letters higher than normal (NOT centered), so you will have plenty of space at the bottom for magnets/names.
-Make magnets of your choice! Some ideas: glass rocks or pebbles with each family member's picture on it; wooden stars/hearts/circles/squares that have been painted and distressed, with family members' names in vinyl lettering on them; wooden blocks with initials only...

Decorative Wooden Letters

From: Brown Paper Packages

I got the best surprise in the mail yesterday...my best friend's (since college!) birthday package. I look forward to this all year, because she is uber creative and talented, and always has the best ideas.
I LOVE this set of fall letters--she chose a really great set of papers (hers are Basic Grey). She also told me how she made them, and I can't wait to make another set for Christmas!

ITEMS YOU NEED:

-wooden letters (thick enough to stand on their own)
-scrapbook adhesive
-scrapbook paper of your choice
-sanding tool or file...she likes these:

(sanding block by Making Memories)

(file kit by Basic Grey)

-walnut colored ink and sponge

-pencil
-scissors

DIRECTIONS:

-Trace letters onto scrapbook paper, then cut out carefully.
-Using scrapbook adhesive, adhere the paper to the letters.
-Sand/file the edges of the paper so the paper is an exact fit.
-Distress the edges using the walnut ink and sponge.

That's it! Such a fun and easy way to decorate for any season you choose. Thanks Ang!!

Decorative Clothespins

From: Brown Paper Packages

I was inspired while reading my new issue of Country Living, which is exactly what I was hoping would happen. I had been mulling around some Thanksgiving placard ideas, when this came to me...and I love it. With a little Mod Podge and scrapbook paper or fabric, you can transform the humdrum into the adorable! There are so many things you can do with them, and here are just a few.

PLACARD HOLDERS


I can't wait to use these on our Thanksgiving table! I plan to tie ribbon around the napkins, then clip these on.

CHRISTMAS CARD HOLDER


I love displaying Christmas cards by hanging them with clothespins on a piece of jute or twine, then stringing it across a mantel or window. This will just spice it up a little--so cute!


DECORATIVE MAGNET


Just add a magnet to the back, and voila! You've got a darling way to jazz up your magnet board, or refrigerator.


ITEMS YOU NEED:

-clothespins
-scrapbook paper (or fabric)
-Mod Podge

DIRECTIONS:

-Trace your clothespin onto the back of your scrapbook paper, then cut out.
-Using a foam brush, brush the Mod Podge onto the clothespin, then place the scrapbook paper over it. Add another layer of Mod Podge on top. Let dry.
-If desired, add a magnet to the back.

That's it! How simple!!