
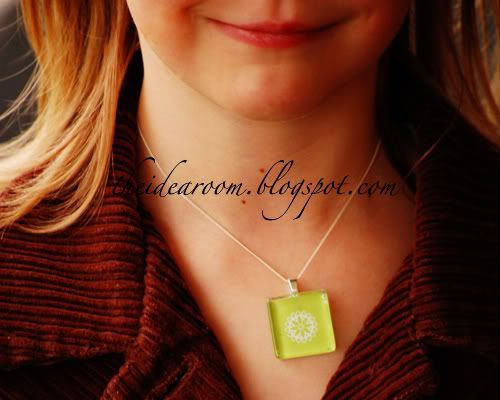
Look at how cute these glass tile pendants are! I found the glass tiles and bails to make these here. I bought my Diamond Glaze at Ben Franklin Crafts.
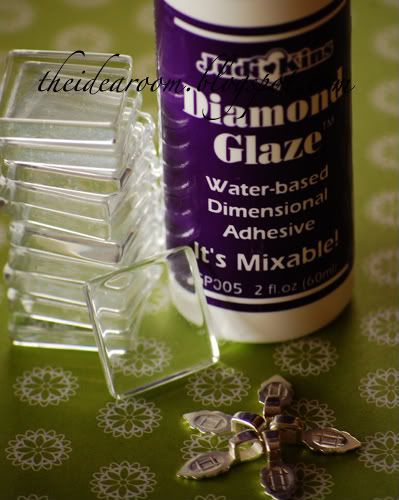
All you need to do is take your glass tile and clean it off. (They were a bit dusty upon arrival). Then find your favorite picture of a child (it has to be a picture from a laser printer or photo store), scrapbook paper or even a peice of fabric as the necklace design.
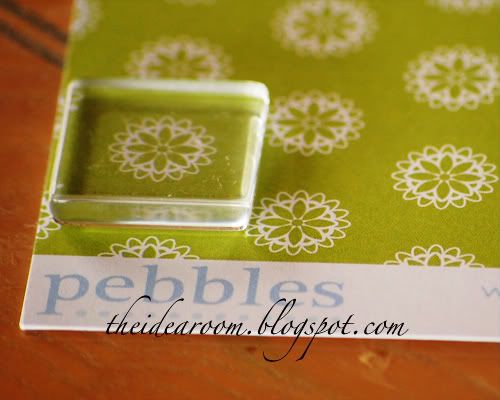
With a pencil trace around the tile square. When cutting out the square of paper (or other material), cut inside your line so that it fits well on the square. Coat the printed side of the paper, the side you want to see on your necklace, with your diamond glaze. You do not need a lot of diamond glaze, just a couple of small dots will be sufficient. You just need enough to cover a thin layer of the glass tile. Attach your paper to the glass tile. If any excess glaze runs out of the edges of the glass, immediately wipe it clean with a damp paper towel.
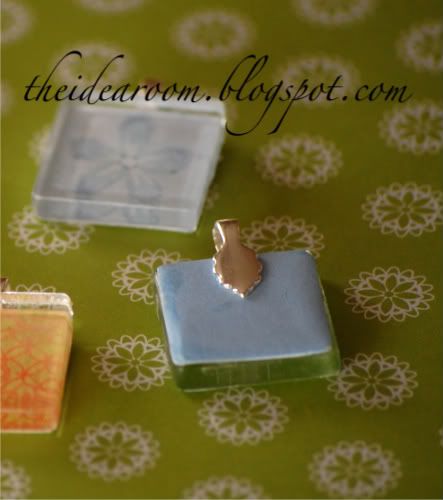
Turn your glass tile over so that you are looking at the back of your necklace. Paint a thin layer of Diamond Glaze over the entire back of the necklace and let dry.
When dry, place a small drop of Diamond Glaze onto your bail (chain attachment) and attach the bail in the exact middle on the back and at the top of your necklace.
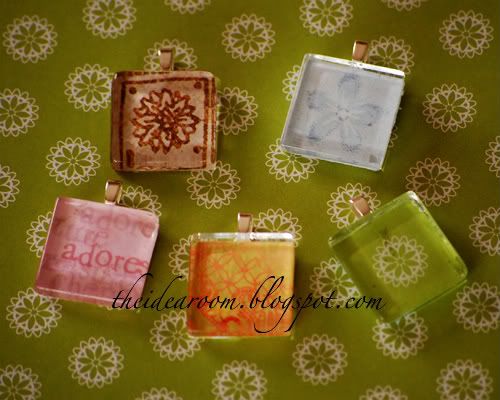
When the glaze has dried, your necklace is finished and ready to wear. Aren't they adorable? I made a few for myself and then let the girls each pick out a design for their own necklace. My sisters don't know it yet, but they are going to be getting some of these for their birthdays this year...Surprise!
As a side note, I happened to be at Home Depot over the weekend and noticed that they sell some of these glass tile in their tile aisle. They come in sheets of about 144 and come in several different mixed colors (with some clear ones). All you would have to do is cut them apart and use some adhesive remover to get the stuff off the back of them. You could use those tiles in much the same way and have some cute colored ones as well!
**Edit--A reader informed me that there is no way to remove the adhesive from the backs of the tiles found in Home Depot. It is baked into the back of the glass tiles. Thanks Michelle!

No comments:
Post a Comment