


I am always on the lookout for fun ideas that will display pictures of my children. I was super excited about this one, and really love how they turned out. They are easy-peasy (you'll be surprised at how simple!), totally inexpensive, and a great gift idea.
ITEMS YOU'LL NEED:
-your choice of 4x4 tile or stone (I used a crumbly stone)
-Mod Podge, brush
-Matte presentation paper for photos
-felt pads, 4 per tile
DIRECTIONS:
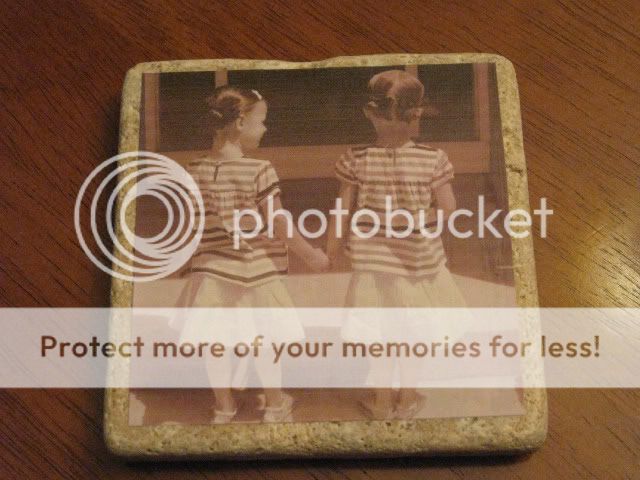
-Decide which photos you would like to use, edit, and crop them. Consider what kind of tile you are using, and the look you are going for when deciding which photo effect to use. I went with the sepia tone, because I wanted it to match the stone I was using, and have more of a vintage feel.
-Print them out on the presentation paper. You can use regular photos if you choose, but using the the thinner paper makes it look like it's more a part of the tile.
-Cut the photos to fit the tile; depending on the picture, you may need or want more or less of a tile border. Some of my pics took up the whole space, and others didn't.
-Using your foam brush, apply the Mod Podge to directly on the tile.
-Carefully place your photo so it is centered on the tile.
-LET THE MOD PODGE COMPLETELY DRY before adding the top coat. If you don't, the photo paper will crease and wrinkle immediately. Once it's dried, then apply a light top coat. Don't be alarmed, the Mod Podge will cause it to slightly change colors.
-Apply felt pads to bottom four corners of the tile.
-Groups of 3 or 5 work really well for displaying, as well as for gifts.
-If you want to use these as coasters, you will need to use a protective finishing spray to seal out the water/moisture.
No comments:
Post a Comment